Freehand Feathers Tutorial

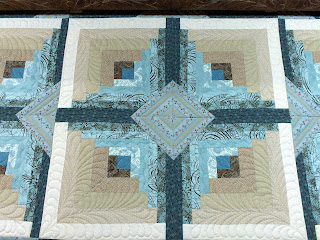
I was working on a Mystery Quilt top that I had completed last winter, and decided to quilt feathers into the background patches. These are irregular shaped 6-sided patches that are formed where the two different blocks join in the quilt. As I quilted the feathers, I took step-by-step photos of the process to post to my blog. This will give you an idea of how I quilt my freehand feathers.
There are many different ways to quilt feathers as there are quilters. I have taken various techniques leanred from different quilters and combined them along with my own techniques to quilt free-hand feathers. Here is the photo of the patch before quilting.
Here I have quilted in the spine - or the vein - of the feather. I start at the bottom and quilt a single feather at the tip of the spine. I tie off at this point and start back at the bottom of the spine to start my feathers.

Here I have quilted in the 1st 3 feathers on the outside of the feather spine. The first feather I quilt is formed in a tear-drop shape that points towards the top of the feather. This helps give me a base to form my other feathers on. Other quilters will make this 1st feather differently, but this is what works for me.

This photo shows the outer feathers being completed in the space. I quilted out pretty far past the beginning feather on the tip of the spine to help fill in the space. I just quilt these by feel. After awhile you get the "feel" for how the feather is going to fill the space and make adjustments in your quilting as you go along. That is what is great about freehand quilting!

To quilt the inner feathers, I again start at the bottom of the spine and quilt the feathers to fill in the available space. I backtrack over the tips of the feathers instead of along the long edges.


Comments